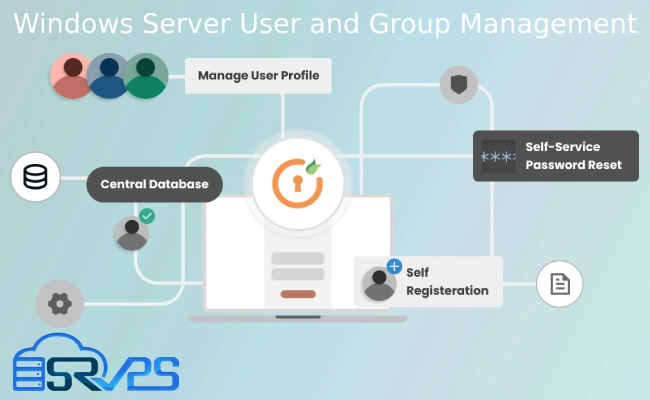
Windows Server User and Group Management Tutorial
Posted on | Meysam Sadeghi |
In the vast world of IT and computer systems management, Windows Server is undoubtedly a prevalent and powerful tool. As one of the leading server operating systems in the world, Windows Server offers a host of features and capabilities to streamline your IT operations and business tasks. Whether you’re an experienced IT professional or just starting, understanding how to manage users and groups in Windows Server is an essential skill to learn. And that’s precisely what this comprehensive guide from SRVPS will help you to achieve.

In this tutorial, we’ll take an in-depth look into how to effectively manage users and groups within the Windows Server environment, empowering you with the knowledge and skills to make the most of your Windows virtual server.
What is User and Group Management?
Before we delve into the details, let’s first understand what user and group management entails. User and group management is a critical aspect of systems administration. It involves creating, modifying, and deleting user accounts and groups. The primary aim is to control who can access your system, what resources they can use, and the actions they can perform.
Why is User and Group Management Important?
By effectively managing users and groups, you can enhance your system’s security, improve productivity, and ensure efficient resource utilization. Here’s why:
- Security: User and group management helps in defining access rights and permissions, preventing unauthorized access to sensitive data and systems.
- Productivity: By granting the right permissions, you can ensure that users have access to the resources they need to perform their tasks effectively.
- Efficiency: Managing user groups allows you to organize users with similar roles or responsibilities, making it easier to assign and manage permissions.
Getting Started with Windows Server User Management
Now that we understand the importance of user and group management let’s dive into the practical aspect of how to handle it on your Windows Server.
Creating a New User Account
To create a new user account, follow these steps:
- Open Server Manager.
- Select
Tools, then chooseActive Directory Users and Computers. - Navigate to the location where you want to create the new user account. This could be within an Organizational Unit (OU) or a domain.
- Right-click the desired location, select
New, and thenUser. - Fill in the user’s details, including their name and logon name.
- Set a password for the account and choose the appropriate password options.
- Click
Next, review the information, and then clickFinishto create the account.
Modifying User Accounts
To modify a user account, use the Active Directory Users and Computers tool in the Server Manager. Find the user account, right-click it, and choose Properties. Here, you can change various settings, such as the user’s name, logon name, and description.
Deleting User Accounts
To delete a user account, navigate to the account using the Active Directory Users and Computers tool, right-click it, and select Delete.
Managing Groups in Windows Server
Groups are collections of user accounts. By assigning permissions to a group, you automatically grant those permissions to all members of the group. Let’s look at how to manage groups in Windows Server.
Creating a New Group
To create a new group, follow these steps:
- Open Server Manager and navigate to
Active Directory Users and Computers. - Select the location where you want to create the group.
- Right-click the location, select
New, and thenGroup. - Enter the group name and select the group scope and type.
- Click
OKto create the group.
Modifying Groups
To modify a group, find it in Active Directory Users and Computers, right-click it, and select Properties. Here, you can add or remove group members, change the group name, and adjust other settings.
Deleting Groups
To delete a group, find it in Active Directory Users and Computers, right-click it, and select Delete.
Best Practices for User and Group Management
While managing users and groups, keep the following best practices in mind:
- Follow the principle of least privilege: Always grant users the minimum permissions they need to perform their tasks.
- Regularly review and update user and group permissions to ensure they’re still appropriate.
- Use meaningful names for user accounts and groups to make management easier.
In conclusion, understanding how to manage users and groups on Windows Server is key to effective system administration. We hope that this tutorial from SRVPS provides you with the information you need to manage your Windows virtual server effectively.
For more in-depth understanding and practical tips on managing Windows servers, you can explore other Windows tutorials on our blog. Visit SRVPS’s Windows Tutorials for a wide range of topics, tips, and insights that will further enhance your proficiency in handling Windows servers. Continue your learning journey with SRVPS, and unlock the full potential of your Windows virtual server today.